 |
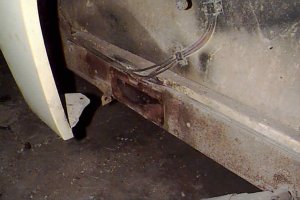
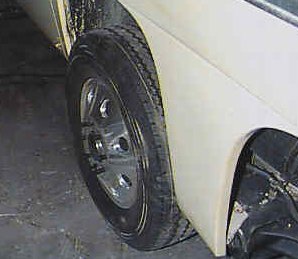
Most obvious is the blown out shock absorber held together by a piece of rubber and a hose clamp. Also, the cone on the end of the air spring is plastic. The plastic cones have a nasty tendency to shatter under pressure, sending plastic shrapnel flying. The air lines to the leveling valve are rubber instead of nylon and are very brittle. Less obvious but most disturbing is, when you grasp the brake assembly and pull, there is about one half inch of play. Not good. The bushings and pins which the "bogies" pivot on are worn out and will need to be replaced. |
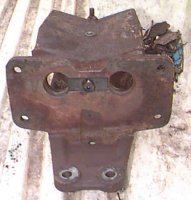
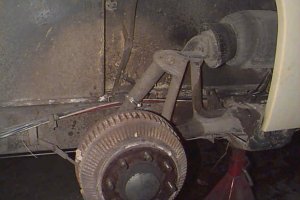
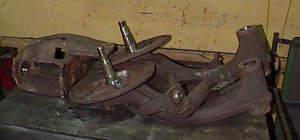
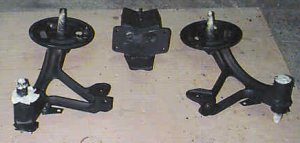
| The rear suspension swing arms or "bogies" mount to a box which attaches to the frame rail. The bogie pins pass through the frame mount and through the pivots of the swing arms. Bushings pressed into the swing arm provide a bearing surface for the arms to pivot on. Since the pins insert from the back side of the frame mount, the entire assembly must be removed from the motorhome in order to remove the pins and bogies. In this picture the rear bogie has been removed from the frame mount. |
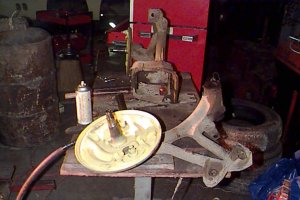 |
 | Here's a closer view of the disassembled bogie. It's hard to see in the graphic format, but there's very significant wear on both the pins and bushings. Of course, that's to be expected after 22 years and 128,000 miles. Maintenance by the previous owner is a little questionable also. |
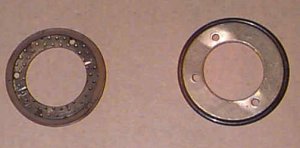
| Here's a closeup of the old swingarm bushings. The amount of wear is clearer in this graphic. The wear is so severe that the lubrication grooves have been obliterated along sections of the bushings. | 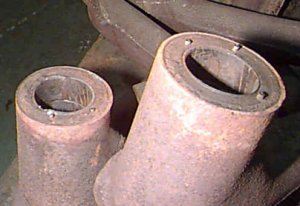 |
 | All the pieces went to the hot tank for a thorough cleaning before sending to the machine shop. |
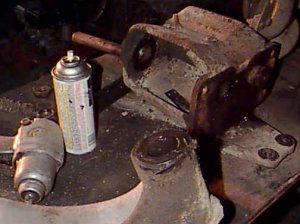
| One of the toughest parts of this job was removing the "top hats". This insert allows adjustment of end play against the pivot pins. They were rusted and seized into place, requiring the use of a torch and 16 ton hydraulic press to remove. Once cleaned up and lubricated, they worked fine. Arch believes that this may have contributed to the wear of his suspension as end play could not be adjusted out. | 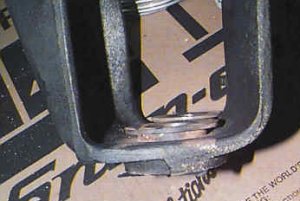 |
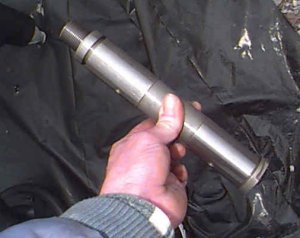 | This is a new pivot pin... |
| ...and this is a set of new bushings. Four are required for each swing arm. These will need to be reamed to match the diameter of the pivot pins after being pressed into the bogie. Be sure your machinist keeps them together as a set once machined. Also, they should be a "magnetic" fit onto the pin. Arch ran into a little trouble when his machinist let one set get a little loose. After much heated discussion, the machinist reluctantly agreed to spring for the replacements. | 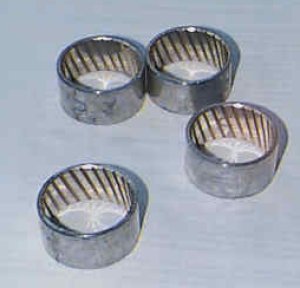 |
 | This is what the new bushings look like after being pressed into the swing arm. Note the 3 small pins on the swing arm. These insert into matching holes in the thrustwashers. More on this below. |
| Here's a shot of the refurbished swing arm with the pin inserted. | 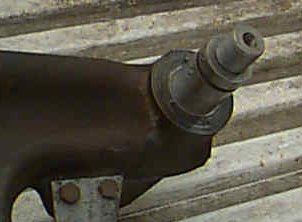 |
 | Everything gets a fresh coat of Krylon before going back on the coach. |