
 |
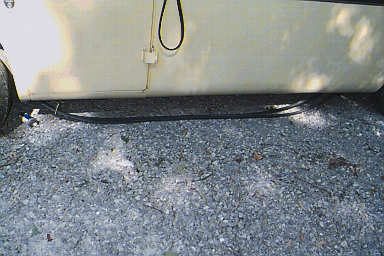
I decided to replace the hoses back to the water heater because they were very bad. Got that done and fired the old girl up. You guessed it, the heat exchanger leaked like a sieve. So I ordered a stainless steel tank and exchanger from Jim Damaere and started to take it all out. Here is the picture of the hoses laying on the ground. Not a bad job - took about three hours. Had to knock the heads off two pipe clamps. It takes about 50 feet of hose to do all of them. |
| Well here is the old tank with all the new plumbing hooked to it. The trick to getting it out is to leave the back mount in place. Jim told me to drill a hole in the bathroom wall to get to the nut on the back of the blue end of the tank. But as you will see in the next pic I could get at mine from the cutout. | 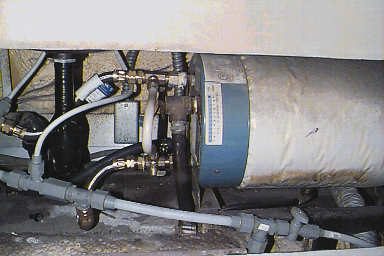 |
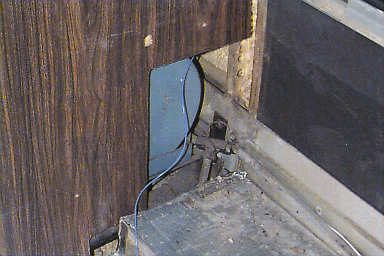 | Ok here is the shot from the bedroom lots of room to get to the tank nut. I sprayed front mount bolts down with liquid wrench and went for a walk. Came back and it only took about a half hour to get it out. I brought it out through the cabinet door with the frame removed. |
| Well here it is all ready to take apart. Real rusty in there. The heat exchanger must have leaked for awhile. I thought they had the hoses blocked off because one had a break in it. Maybe not. | 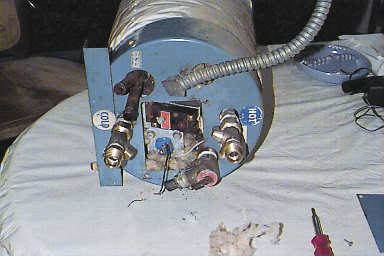 |
 | Well what can I say. No big deal it came apart real easy except for one thing. The heat exchanger would not budge. So I had to smash the tubes together to get the cover off. |
| First alarm bells now go off. My tank has 3 ears that the round end screwed to. The SS tank has no ears - panic! I get on phone to Jim. No problem! He says most of the tanks did not have ears they had plastic spacers between the tank and the cover. Tells me to cut some 1½ inch PVC and put it over the pipe nipples and I will be fine. BTW mine is only the third one of these he has run into. All on 76 Glenbrooks. GM must have figured out how to make the tanks cheaper by going to the plastic spacers instead of welding 3 ears on the tanks. | 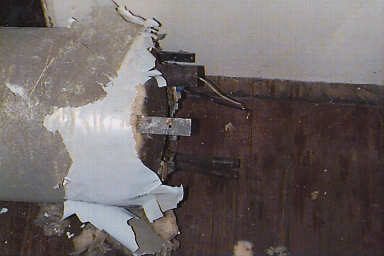 |
| Ok made spacers out of 1½ inch PVC pipe. I ended up making 3 instead of just 2 as Jim had suggested. I put one around the popoff valve too. I also found a popoff valve that had a shorter body length. With just 2 I did not like how unstable it felt to me. with a third one and a short popoff I was able to get 3 points of contact - we all know that makes a plane. I feel better now. |
| Now I have another problem. How am I going to hold the cover tight against the spacers. This took some time in the various toy stores. Then I thought about the repair parts they sell for pipes. The kind that you slip the broken pipe in each end and tighten up so that the rubber collar seals down on the pipe. I can do this. | 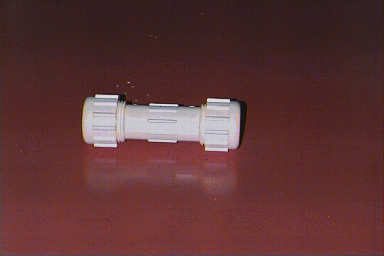 |
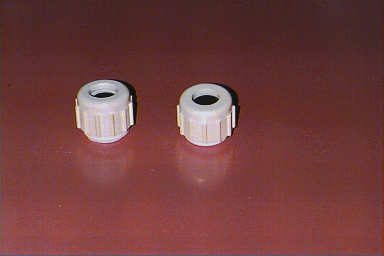 | Well I cut the 2 ends off of the repair link. I did have another problem. Jim had sent 3 inch nipples with the heater. I had modified mine and I needed to be out 4½ inches. This was all going to work. I bought 4½ inch brass nipples. |
| Here is how it all works. Spacer is between the tank and the cover. I then slip the repair link end over the pipe and tighten. Note that the spacer is not cut off square. Right - the top of the tank is not flat. |
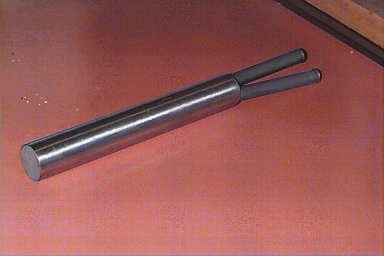 | Here is the new heat exchanger. I would like to say at this point that the craftsmanship on this and the tank are the very best. I have worked with a lot of research equipment that was not this well made. BTW, the cover on the tank is made so you can slide the exchanger in with the cover on. You do not have to smash the tubes together to get the cover on. |
| Ok here it is all back together without the fiberglass. It turns out that I have another peoblem. My thermostat wont work either. Called Jim again - no problem! He is sending me one. The price for all of this $223. I have a new tank, new heat exchanger, new 1000 watt screw in element. A new thermostat on the way. I dont know how much that will be but not much. Oh yes, $8.47 for a new popoff valve and $3.75 for a new drain valve. BTW if anybody needs one of them NAPA has an exact replacement - down to the flare on the hose end. Part # 6660. I am more than pleased with what I got for my money you will not hear me complain Jim or his operation. Good people. | 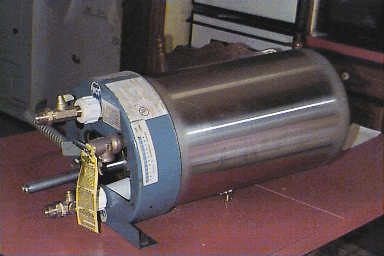 |
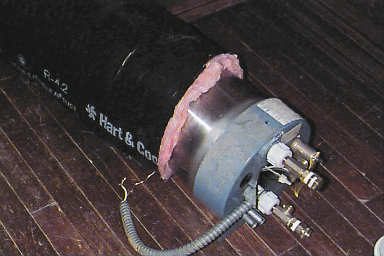 | I tried several different ways to put insulation around the second design tank and was very unhappy with the results. Woke up this morning with an idea. Went downstairs measured tank. It was 10 inches in diameter. Went to my local heating and AC dealer and got 3 feet of 10" flex-duct. I took out the inside layer with the wire in it and the tank fit like a glove. |
member of |
||||
 |
 |
Analysis by |
||